Centre d'aide
Conseils et réponses de l'équipe EPROLO
How to design your full printing product with powerful toolkit?
To make a terrific on-demand product, you need more design supports. EPROLO provides powerful toolkit for you. Here we give you a clear explanation of them and help you design your products with higher proficiency.
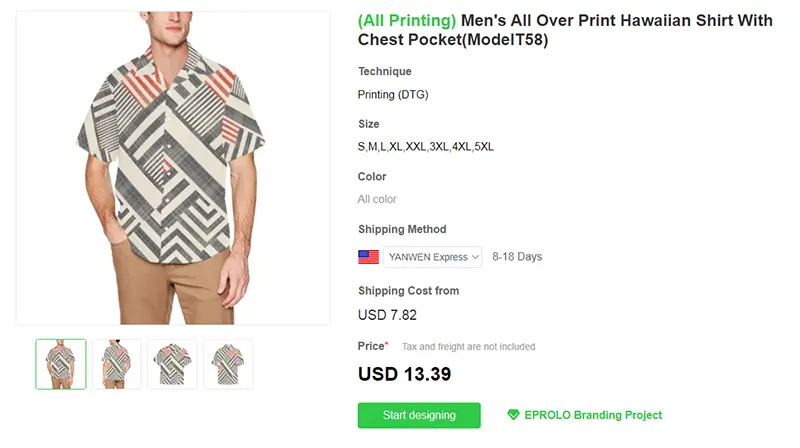
1.Pick your product on the “Products Catalog” and click “Start designing”.

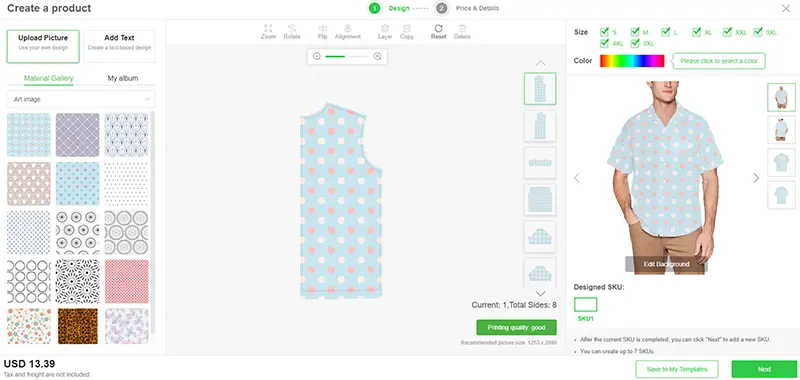
2. Select a design from the Element Library or add your own design in the left area.
Then, you can see the image is shown in the middle of the panel. An adjustment box will appear for the added image, and you can make simple editions, such as the position, the size, and the orientation.

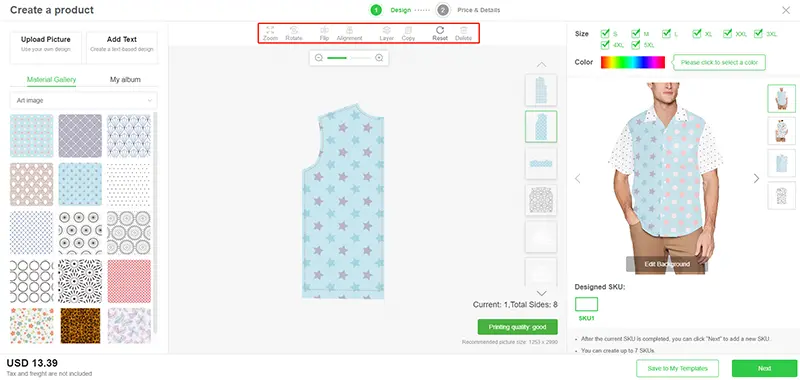
3. Use the toolkit on the top to adjust image.

Here are an elaborate explanation of the features.
Zoom: Use it to enlarge or narrow the image.
Rotate: Use it to turn the image around for -90, -180, 90, or 180 degree.
Flip: Use it to mirror the image vertically or horizontally.
Alignment: Use it to edit the image position, for example, to make the image center vertically or horizontally, or align it left, right, top, or bottom.
Layer: Use it to adjust the gradation of images when employing>adding more than one picture. Choose the image and you can put it on the top or bottom.
Copy: Use it to duplicate the chosen image.
Reset: Use it to cancel the last adjustment.
Delete: Use it to remove the image.
There are eight tools on the designing panel. Use them at your will and make your own designs.
If you have any questions, please contact your Account support Rep in the dashboard or send email at support@eprolo.com.